Customer Onboarding
- Introduction
- Step 1: Insert name, email address, and password
- Step 2: Insert additional details
- Step 3: Choose a payment type and plan
- Pay-now payment type
- Pre-authorization
- Prepaid payment type
- Postpaid payment type
- Choose a plan
- Pay-now payment type
- What next? ?
To onboard a customer, once the e-PowerUP! – mobile app has been downloaded and installed from either Google Play Store or Apple App Store for Android or iOS, respectively, open the application, click Create account, and follow the steps below.
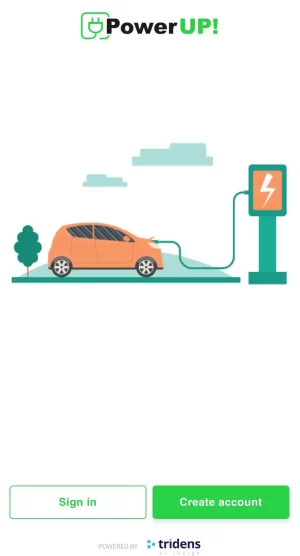
Figure 1: e-PowerUP! – Mobile App: Home screen
You are required to insert the customer’s first name, last name, email address, and password. Then, click Next.
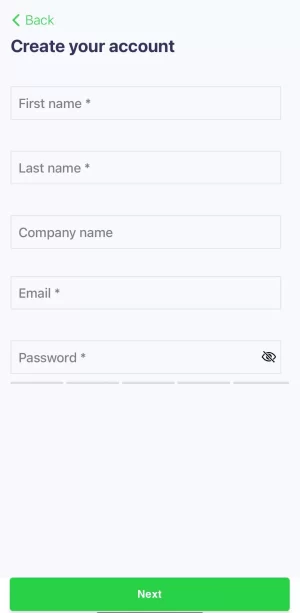
Figure 2: Create an account – Step 1
To go back to the previous step, click Back.
Step 2: Insert additional details
You are required to insert the customer’s address, city, country, postal code, and phone number.
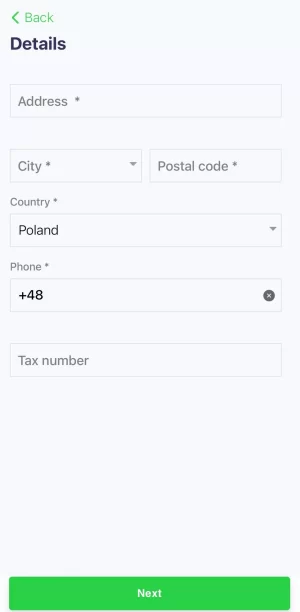
Figure 3: Create an account – Step 2
The e-PowerUP! – Mobile App allows you to search for a country by name.
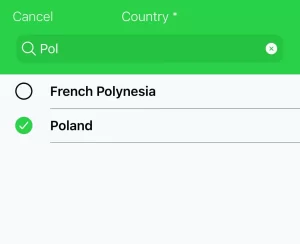
Figure 4: Search for a country
In addition, you can also search for a city based on the selected country. For instance, choosing Poland as the country and searching for Warsaw as the city.
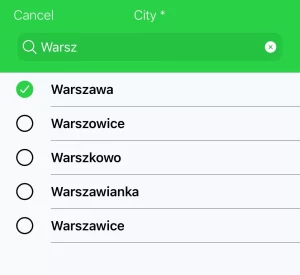
Figure 5: Search for a city
From Figure 3, to go to the next step, click Next; to go back to the previous step, click Back.
Step 3: Choose a payment type and plan
Select the customer’s payment type: this could be prepaid or pay-as-you-go.
Figure 6: Choose a payment type
Choose a plan
When a payment type has been chosen for the customer, select a plan for the customer.
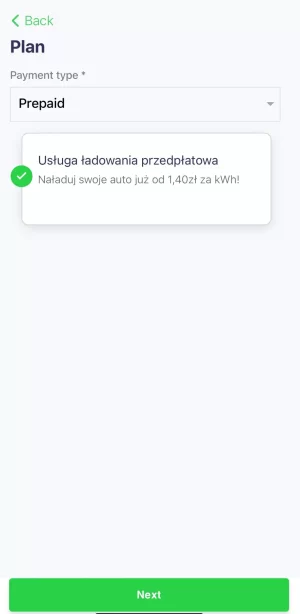
Figure 7: Choose a plan
From Figure 7 choose a plan, to go back to the previous step, click Back.
After selecting the plan, conclude the onboarding process by clicking Finish. The customer must confirm their email address to complete the registration and to be able to sign-in to the e-PowerUP!– Mobile App.
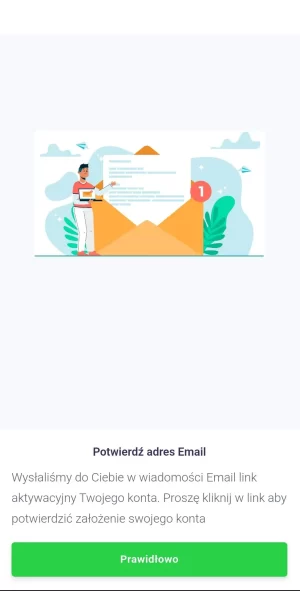
Figure 8: Confirm email
Successfully onboarding a customer (creating an account) in the e-PowerUP! – Mobile App will create an account for the customer.
Once the email address is confirmed, from Figure 1 Home screen, they can sign-in to the e-PowerUP!– Mobile App by inputting their email and password.
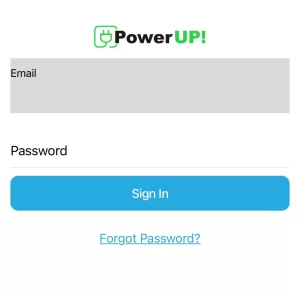
Figure 9: Sign-in screen
After signing in to the e-PowerUP!– Mobile App, the customer can start a charging session. For more information, see Starting a charging session.
